Hello! Welcome to Couch Surfer Crochet! We are now on Week 9 of the 2019 Block-A-Week Project! You can find the first few weeks here:
Block-A-Week 2019 – Squares
(all of the weeks are posted there)
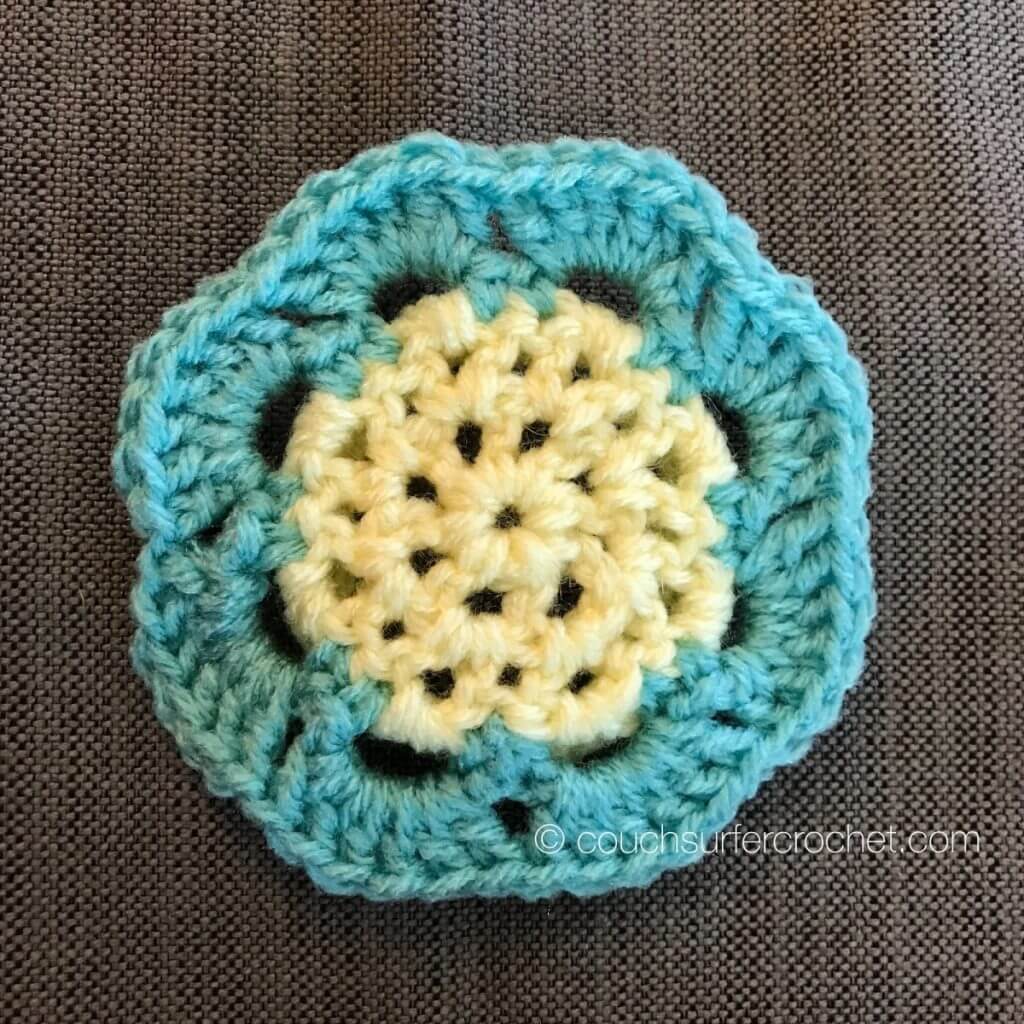
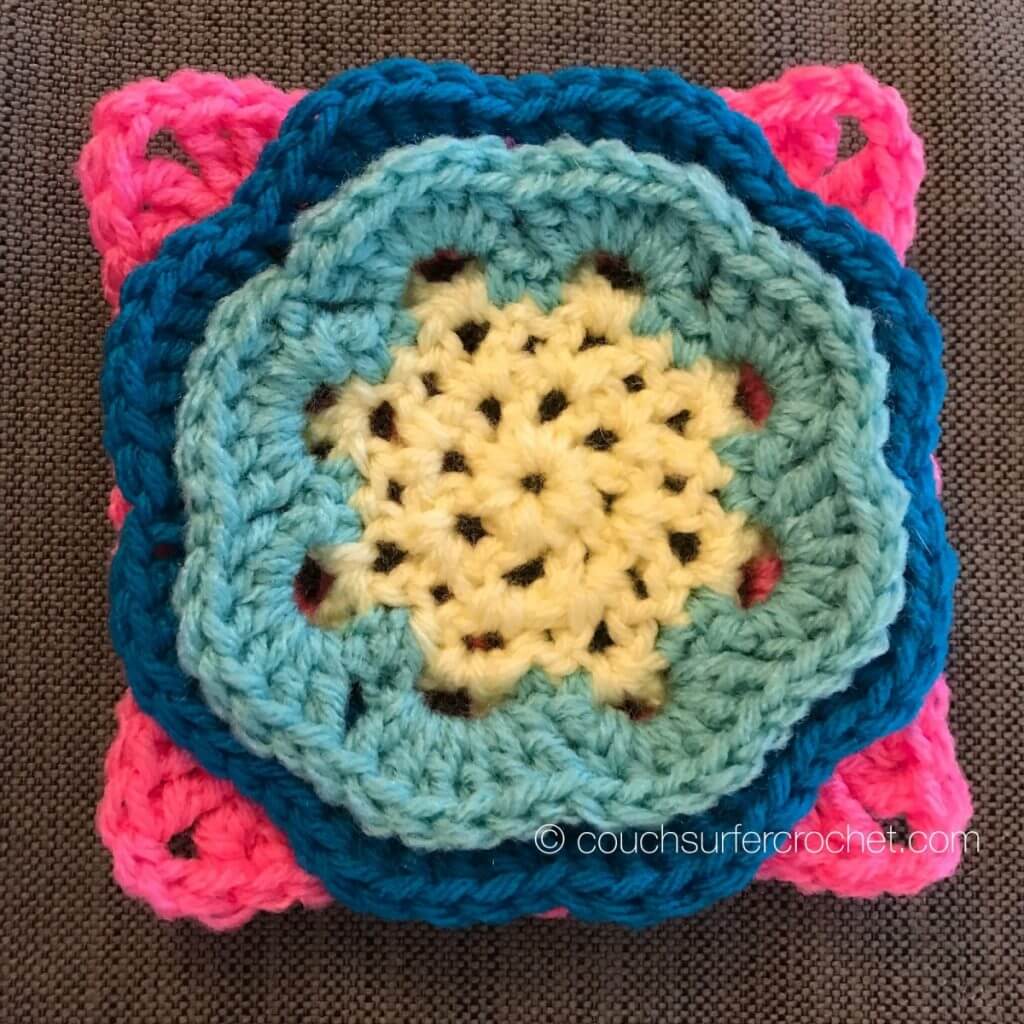
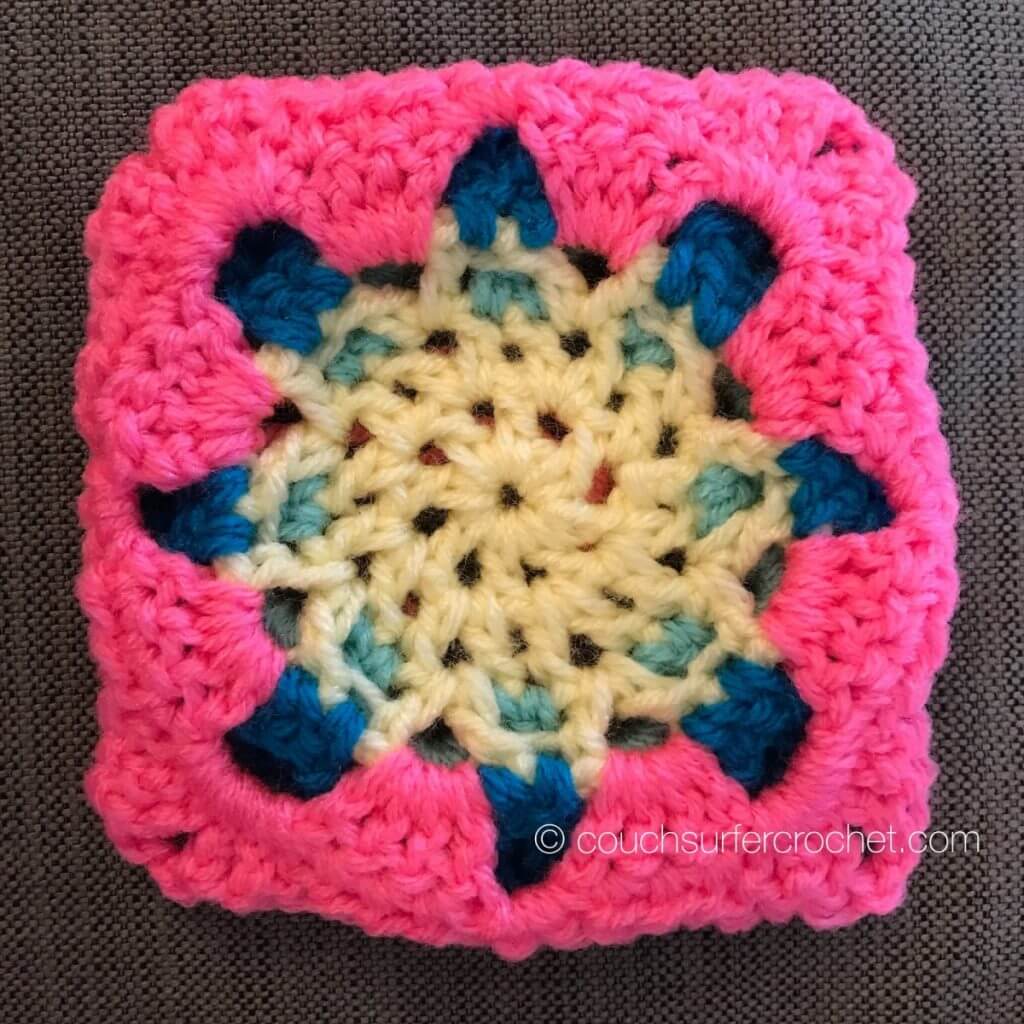
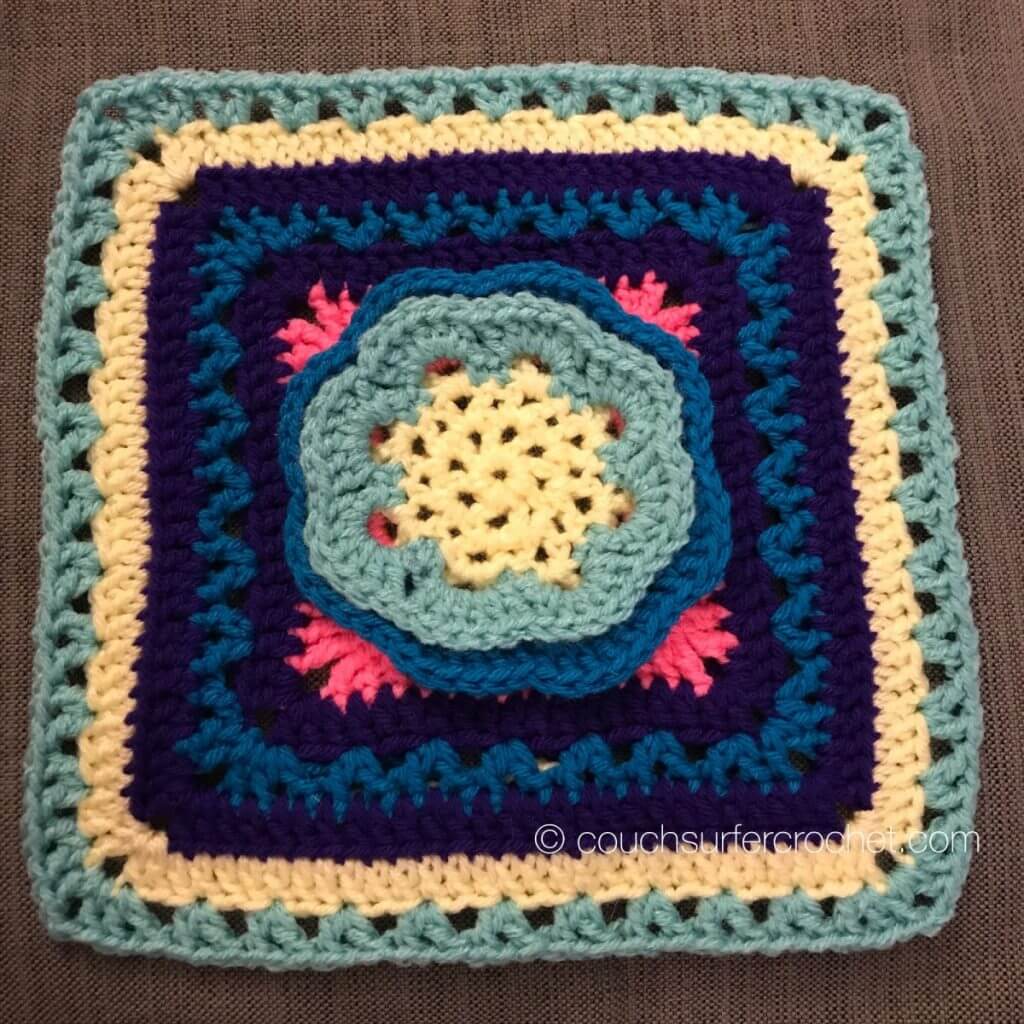
The pattern for Week 9 will look like this when it’s finished!
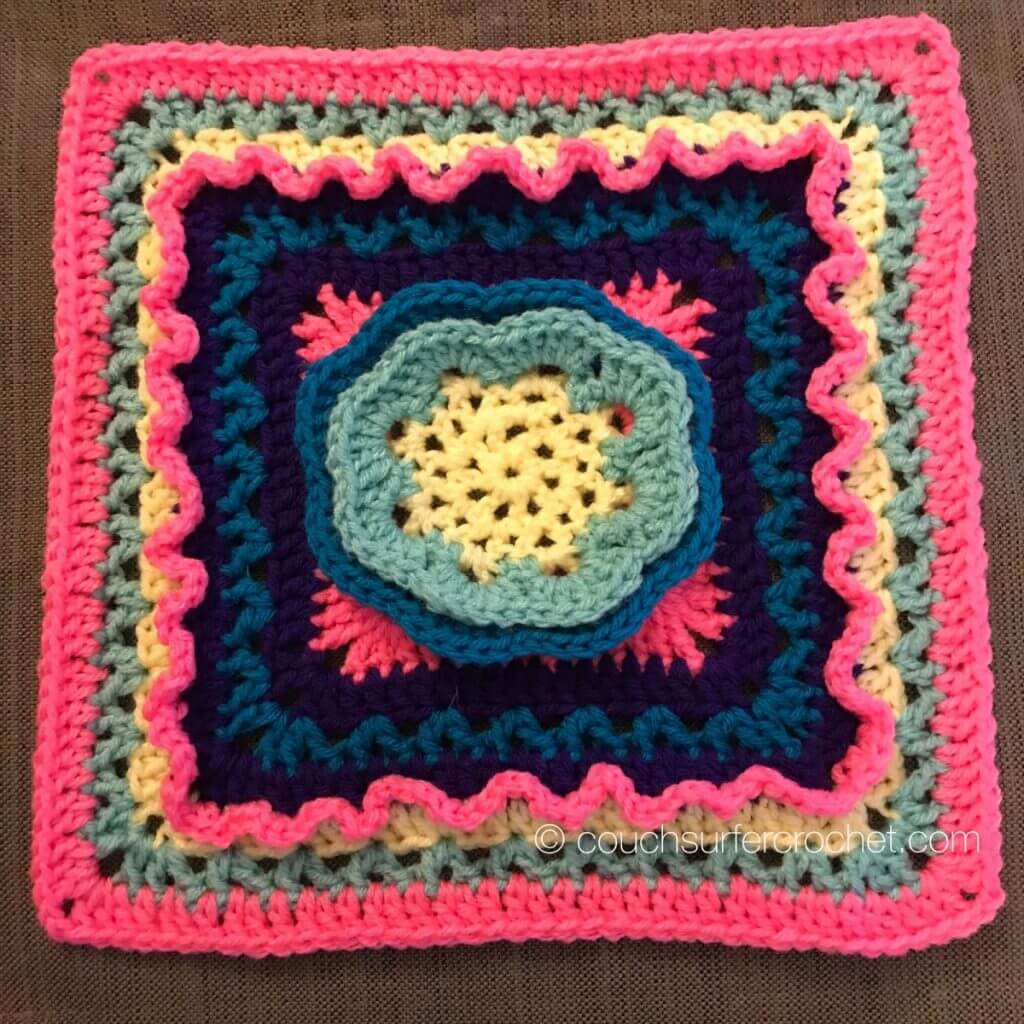
This pattern is called the Frostbloom Square by Shan Sevcik. You can download the pattern for free on Ravelry. On the Ravelry page you can see a few different examples of this square with different color changes. It was originally part of the Block A Week CAL 2014 from Look What I Made. You can find a step by step photo tutorial there!
I chose this square because of the name! It is that strange time of year where one day will be 60 degrees and the next day will be 30 degrees. This leads to little pockets of flowers blooming in the middle of the frost, so this felt like the perfect square for this week.
I’m using a size I/9 (5.5 mm) hook, and worsted weight size 4 yarn for every one of these squares to keep stitch sizing consistent. My squares don’t always look completely “square” at the end of each pattern. I intend to block them all at the end of this project before I sew them together!
I changed colors at random with this square. However!! Feel free to change colors as few or as many times as you want!! Color changes listed in pattern are just my suggestion, please feel free to stretch your creativity and make these squares any way you want to. I think it would even be pretty amazing in one solid color!
The colors I used are:
Color 1: Impeccable Yarn in Bright Sky Blue
Color 2: Red Heart Super Saver in Pale Yellow
Color 3: Impeccable Yarn in Grape Punch
Color 4: Red Heart Jumbo in Pretty N’ Pink
Color 5: Red Heart Super Saver in Aruba Sea
Whenever I use another designer’s square I will ALWAYS follow copyright rules and intellectual property requirements. This pattern is copyrighted to it’s original designer. I am using this project in part to try new things and introduce you all to new designers! I want to make sure everyone is properly credited and attributed for any work they have done!
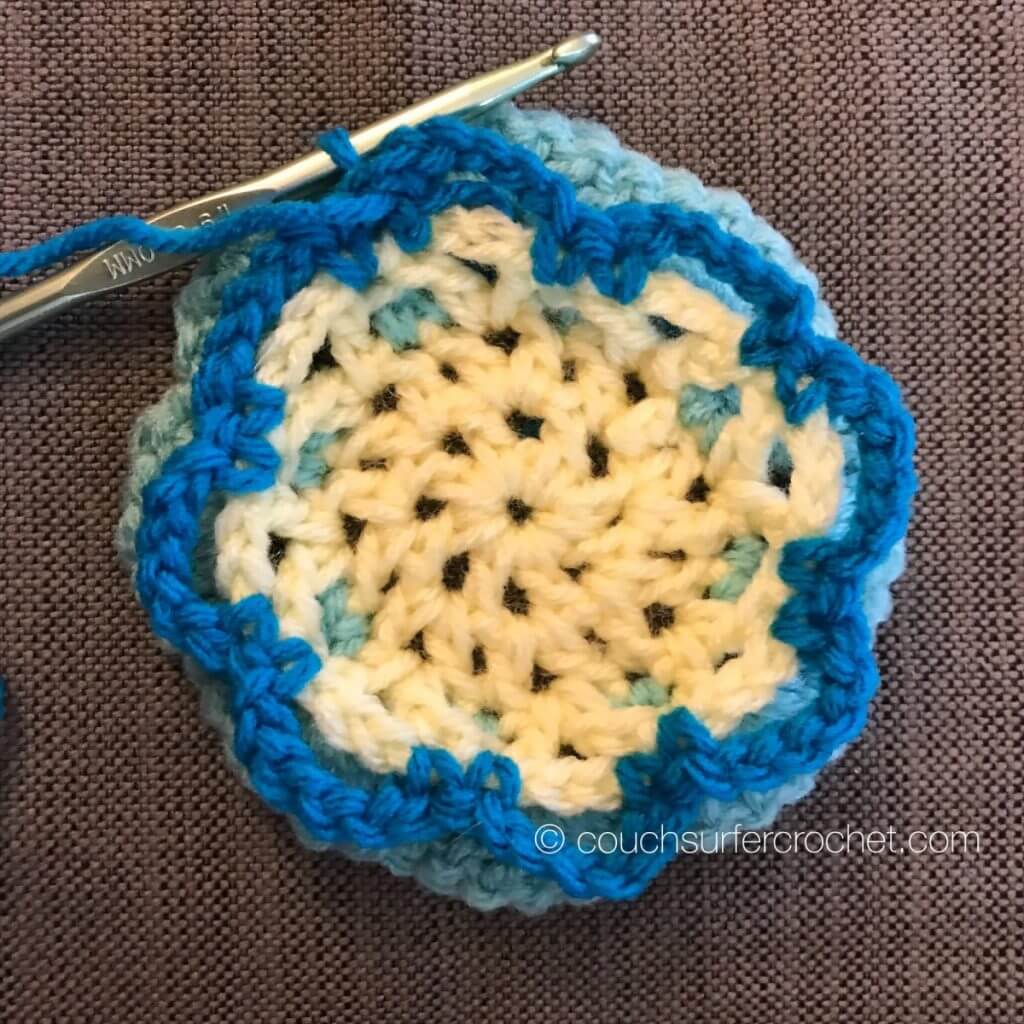
Since this was originally part of another CAL, I can’t share the pattern myself. I will share my step by step photos for this pattern, but I am not able to share each step of the pattern. Please check out the original step by step photo tutorial! Some of the stitches may seem a little tricky, but the photo tutorial will really help make sense out of those surface crochet stitches!
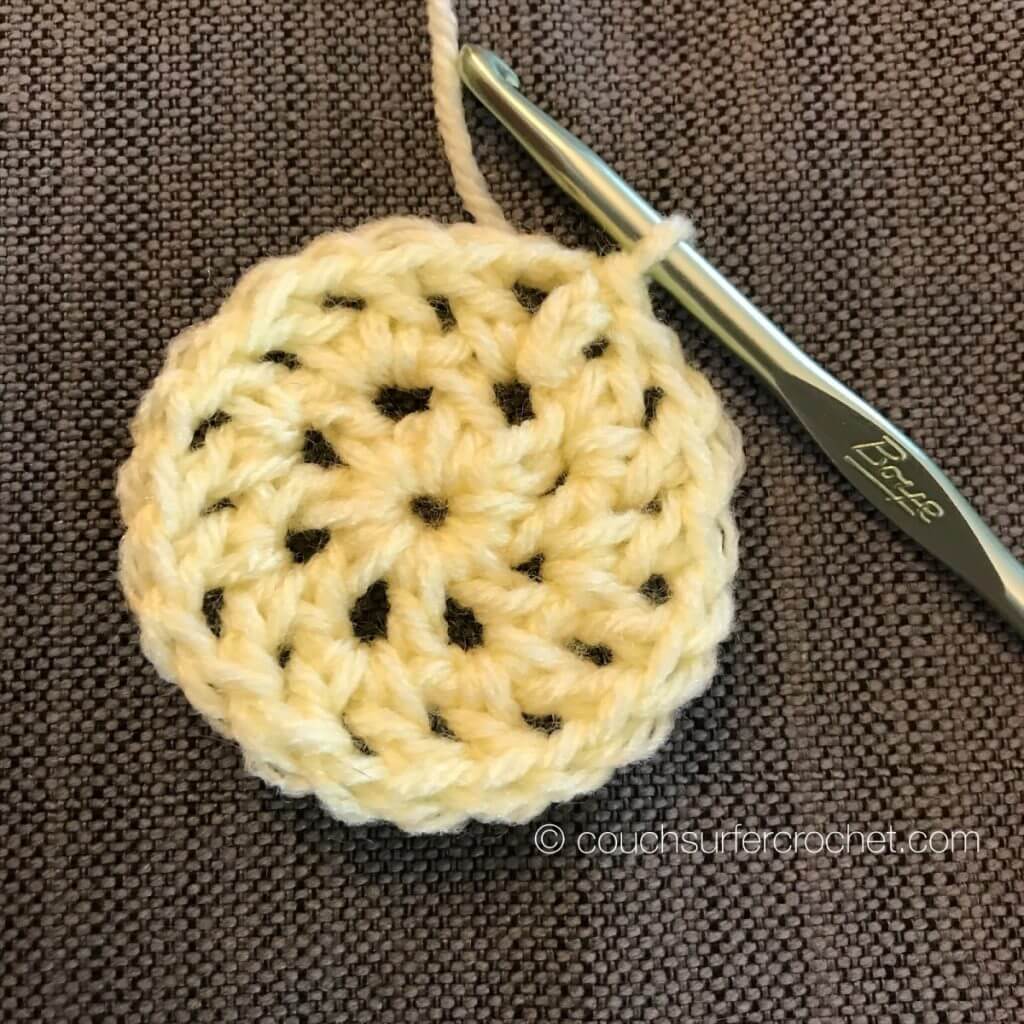
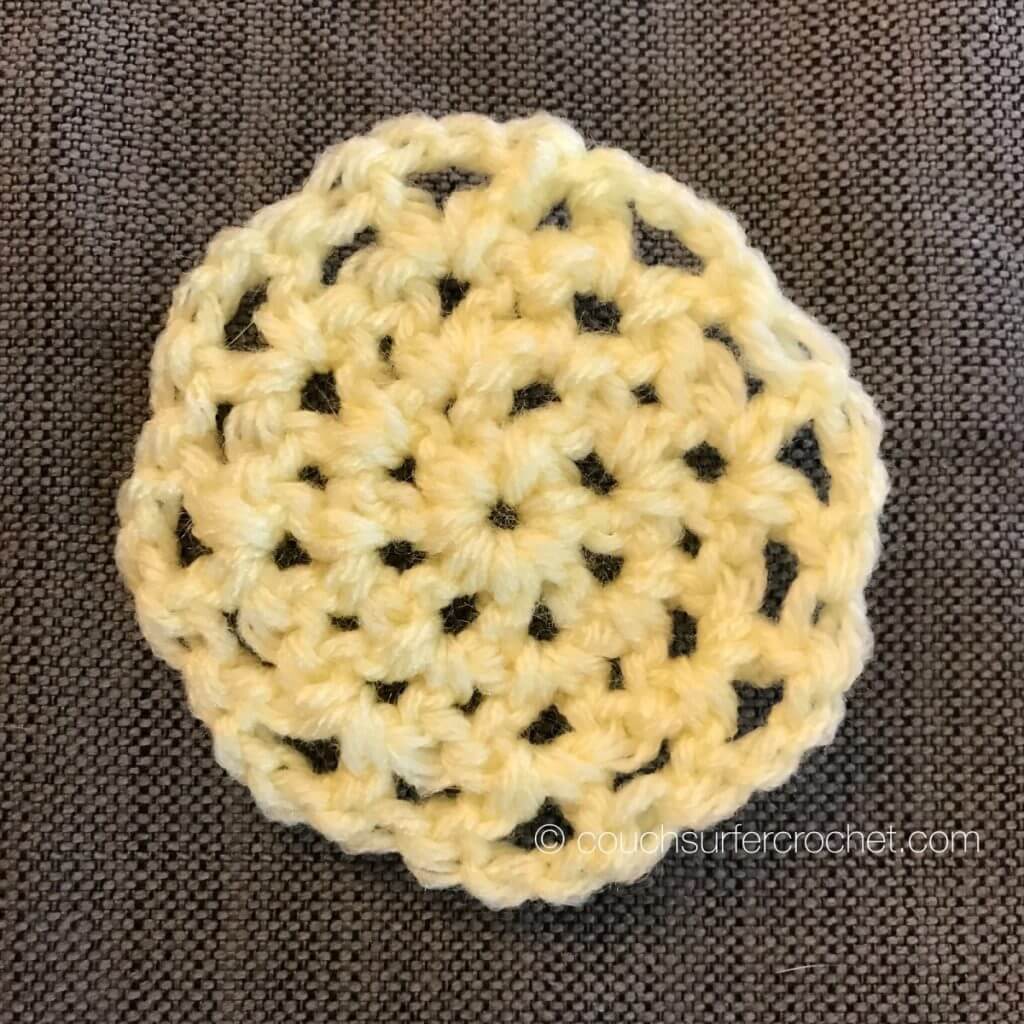
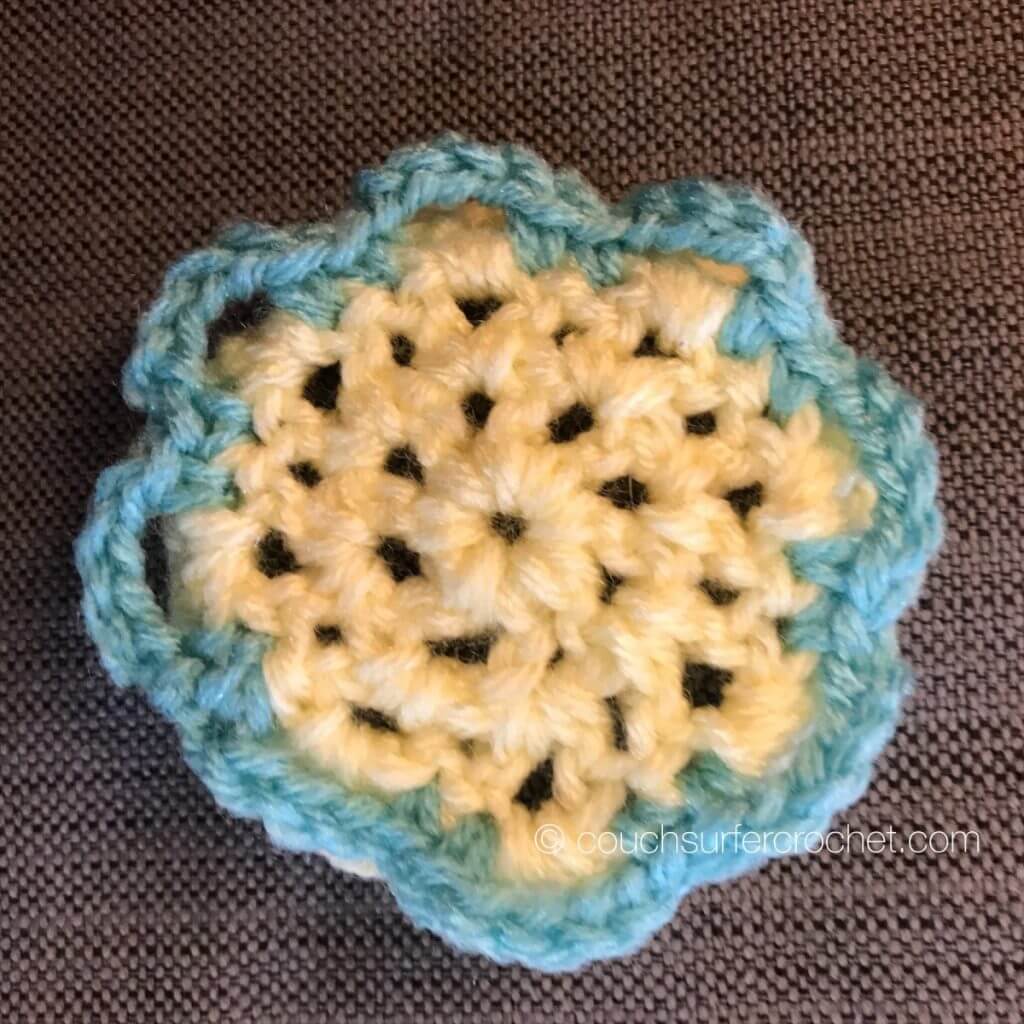
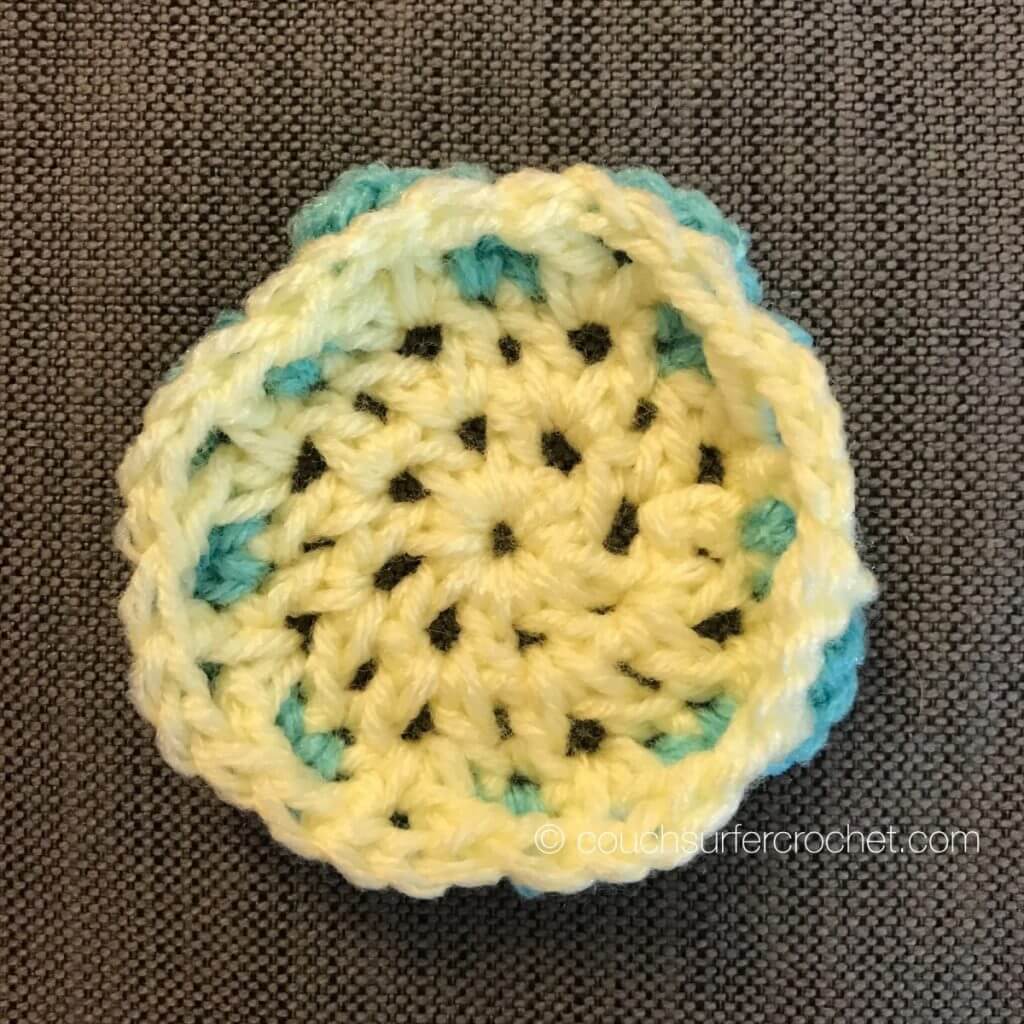
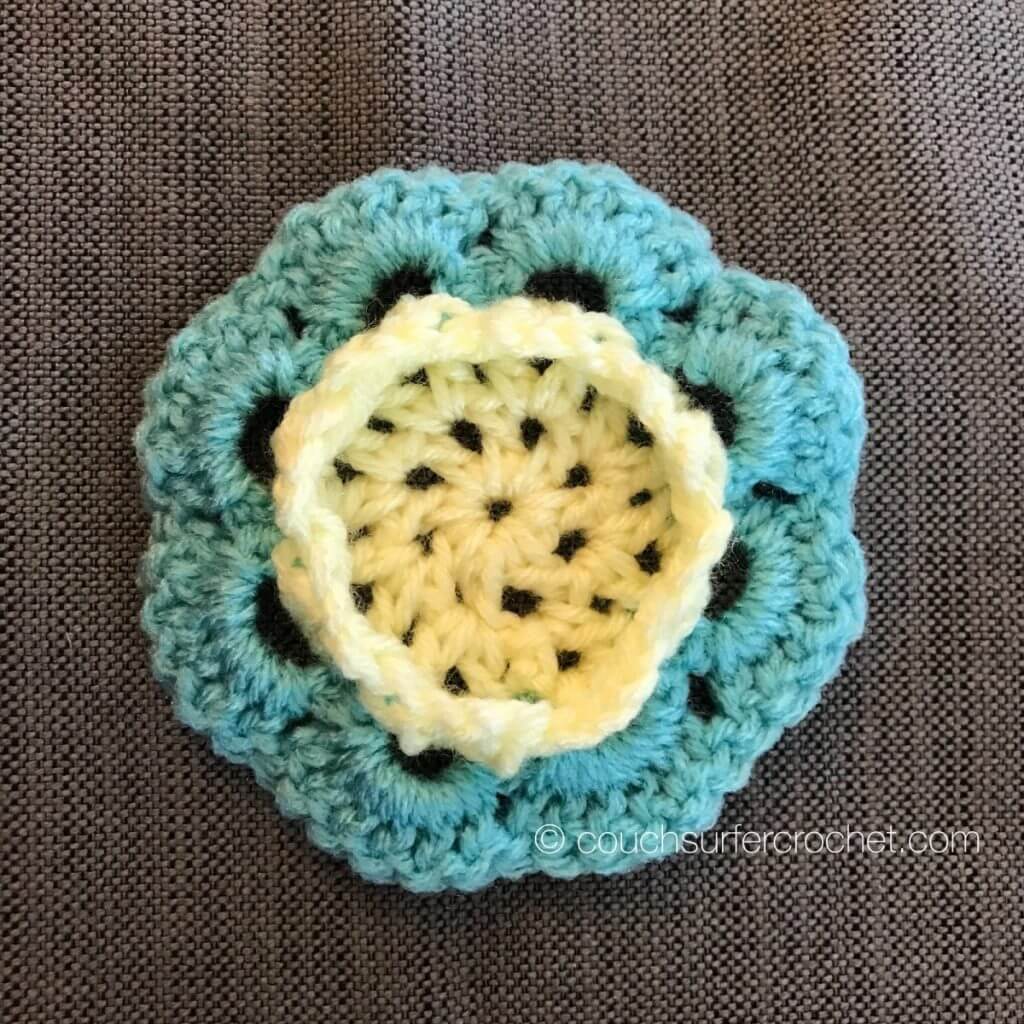
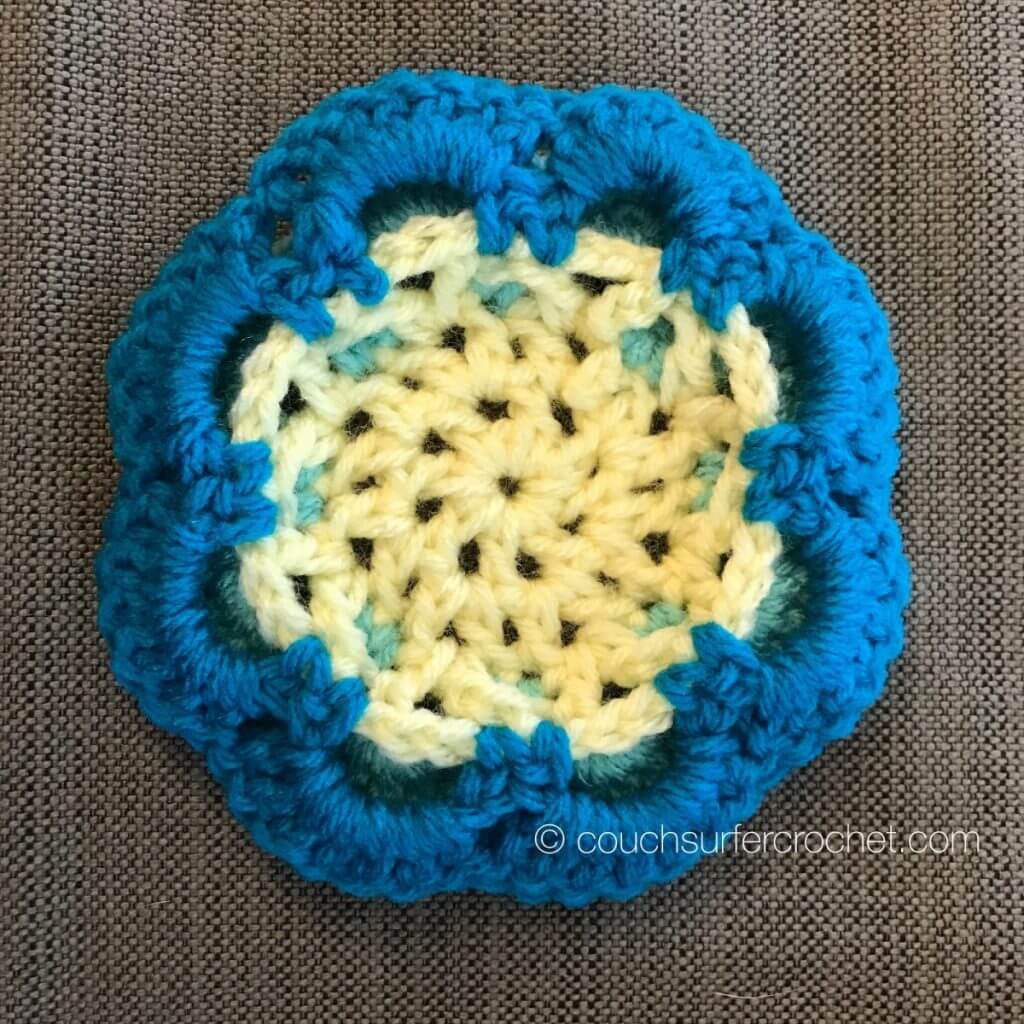
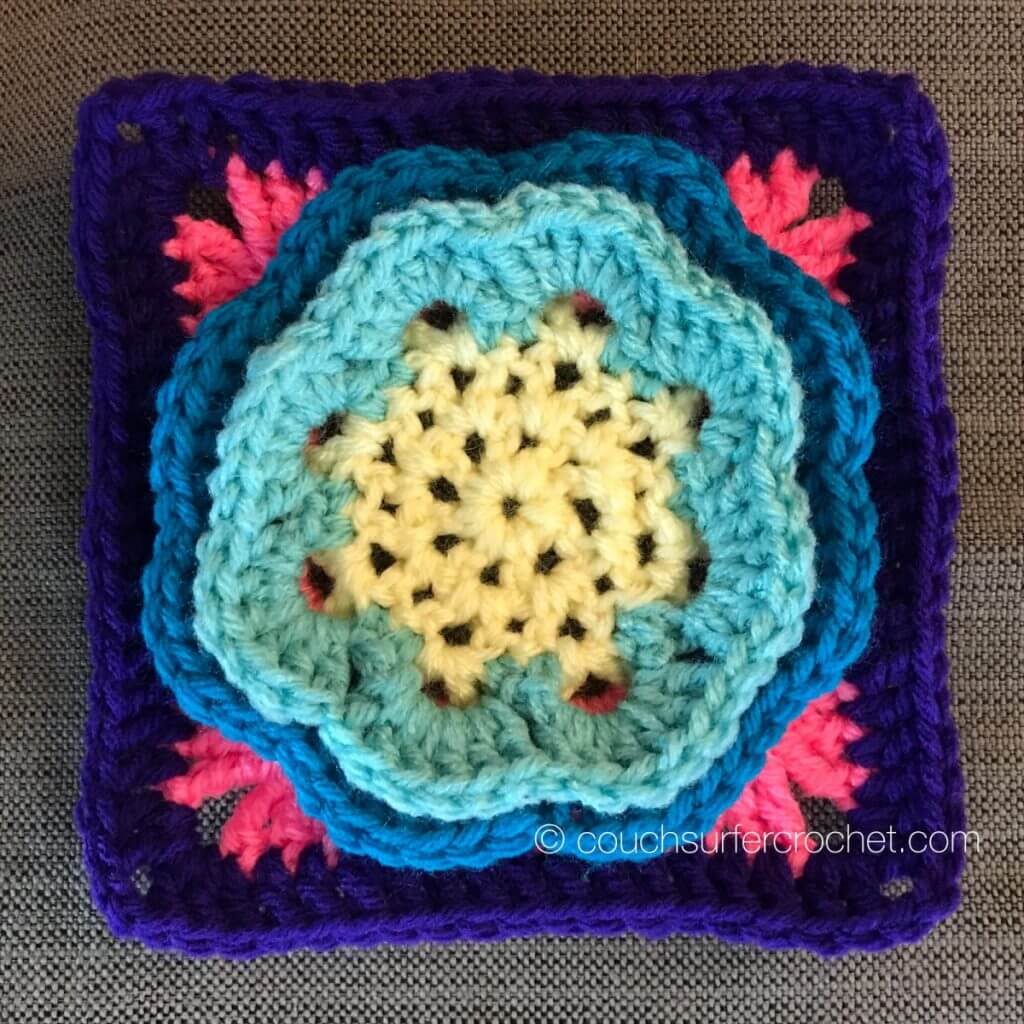
For this pattern I will be sharing “front” and “back” photos. When you work squares like this you will sometimes be doing stitches behind the previous row, or crocheting on top of the fabric itself. Being able to see both sides may help you to see if you are working the pattern correctly.
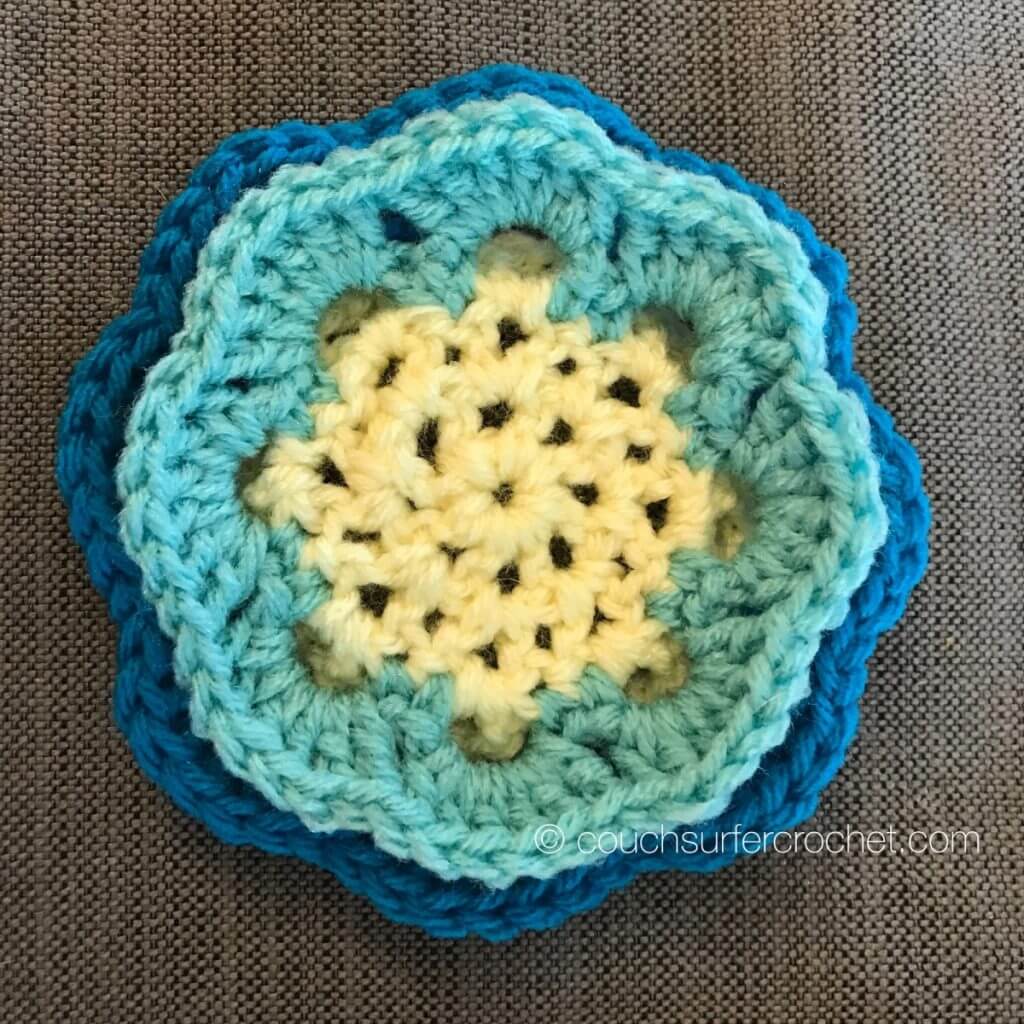
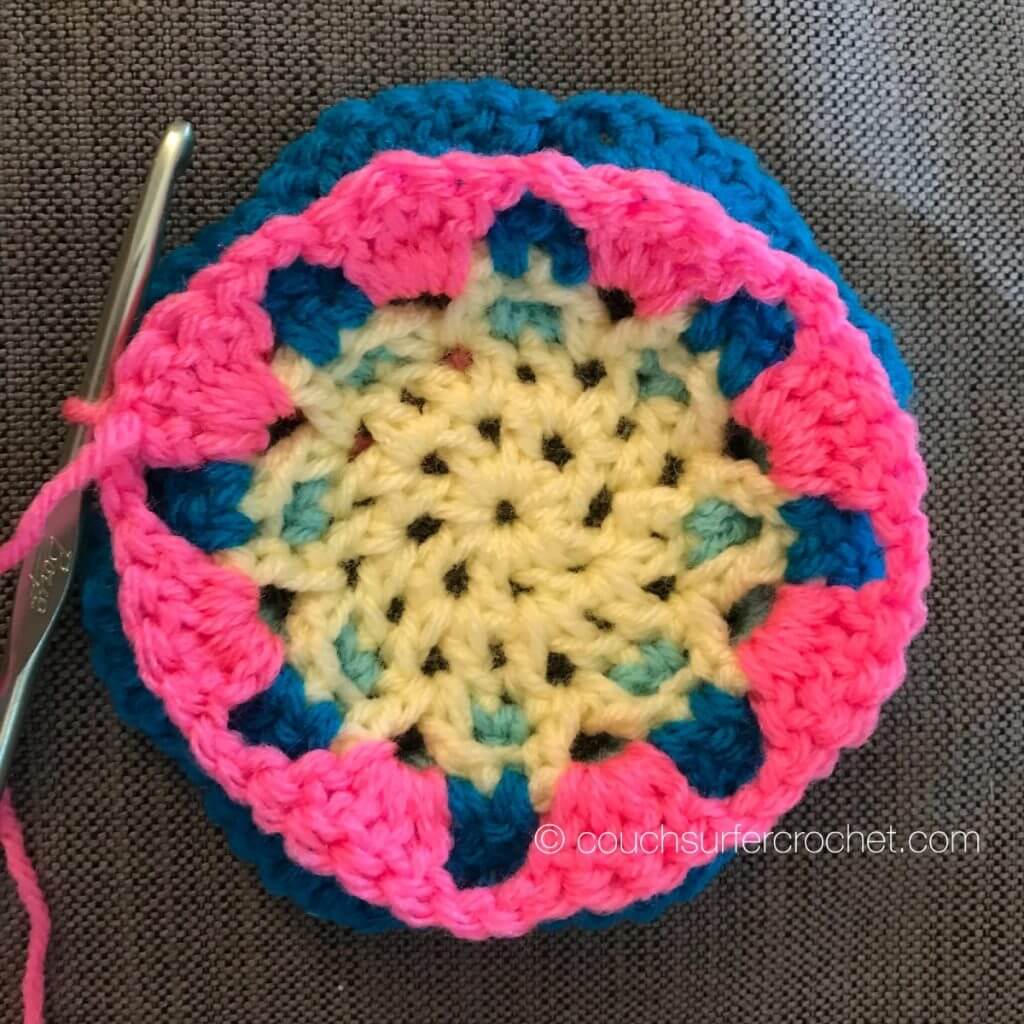

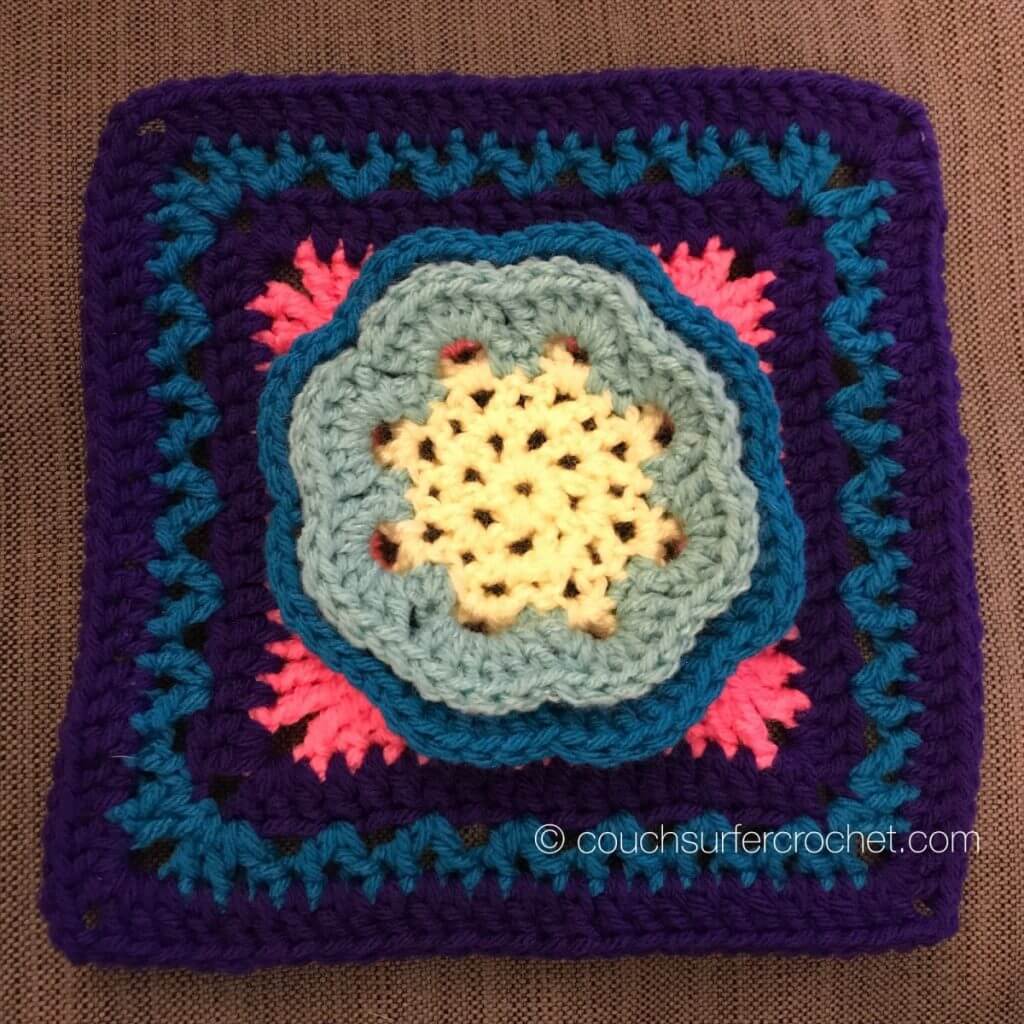
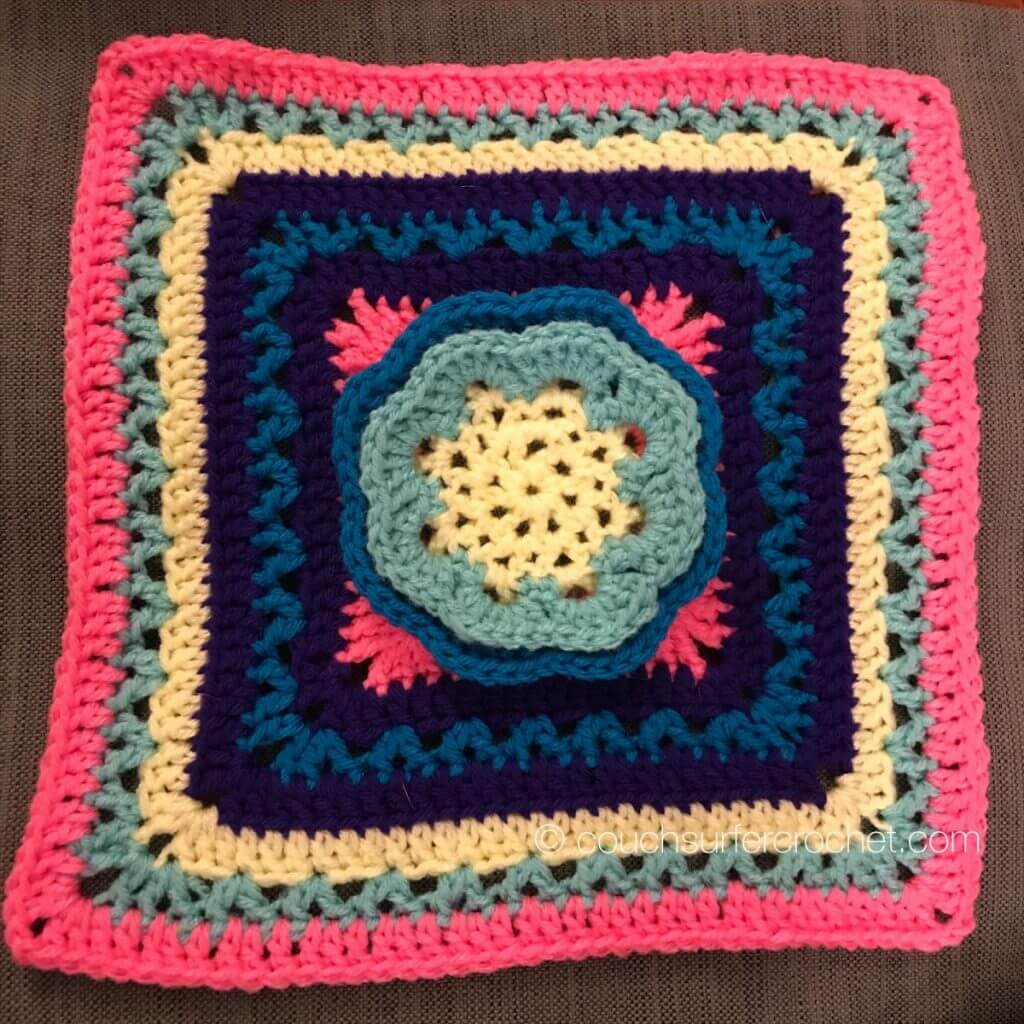
This pattern includes an “optional” Round 16. If you don’t prefer the look of surface crochet or don’t want your squares to be quite so three dimensional, you can skip this round. I chose to add it to my square because I really liked adding one more “pop” of pink. It is my favorite color, so I’m always happy to add more pink to any project!
Please, please, please feel free to share your work with me! I would love to see your progress and finished pieces. Half the joy of creating is sharing it! You can post your work here in the comments, on my Facebook page, or you can join the Couch Surfer Crocheters FB Group!
I hope you have fun making this square! I am happiest when I am creating. I love to see how all these bit and bobs of color can turn into this amazing work of art! Don’t forget to come back next Friday to get the pattern for Week 10!
If you are on Instagram and want to share there, please tag me @couchsurfercrochet and use the hashtag #blockaweek2019. I’m on Pinterest and Twitter as @couchsurferarts!Follow my blog with Bloglovin.
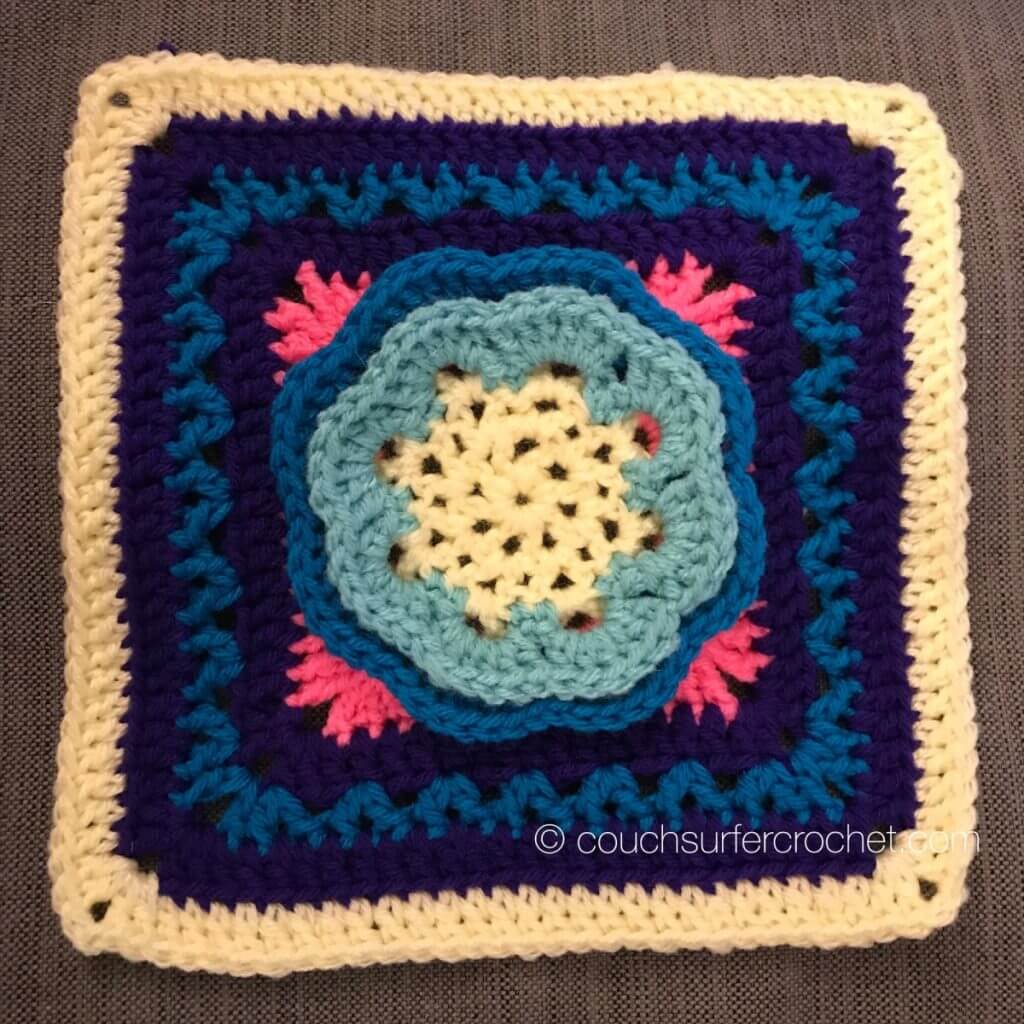
We will be adding a border to each square to ensure that each one is the same “size” around, since some of these squares have a different number of stitches around the edge! Then we will join all the squares together and add a border. 🙂 Click here to see that tutorial!
If you don’t want to miss a post from Couch Surfer Crochet, please sign up for my email list (at the top right corner of the page). That way every new post will be sent directly to you!
Looking for other patterns to try?! Check out my ETSY shop or my Ravelry store!
If you’re looking for a new color palette to try out for your squares, check out this post all about Color Combinations for Spring!