Hello! Welcome to Couch Surfer Crochet!
I hope you all have enjoyed making all of the squares for the 2019 Block-A-Week Project! There were 25 weeks in total (to make a 5×5 blanket).
You can find all of the squares here:
Block-A-Week 2019 – Squares
(all of the weeks are posted there)
Make sure you’ve added your “edging” rows to all of your squares before you start! This joining method depends on those little “loops” you make with the edging stitches.
If you need to see that tutorial, you can find it HERE!
There are definitely plenty of ways that you can join crochet squares together. I’ve used many different methods, and they are all beautiful, but I wanted to create something just a little different for this project!
If you want to try this method, don’t bind off when you have finished joining the first two squares. Lay the next two squares next to each other as before and continue joining them as instructed above. You can attach any number of squares in this fashion. The idea is that you join all the squares in one direction first and then join all the squares in the other direction.
I generally use some version of this method every time I make a blanket with squares! The idea is to join all of your squares horizontally first. Line up 10 squares right side up (for example, if one of the squares has surface crochet make sure that side is face up and visible). This allows you to work 5 pairs of squares at a time. So many less ends to weave this way!
Then move down and join in your third row to the bottom of the second row, working horizontally from right to left. Then your fourth row, then your fifth row.
Then you can turn the whole blanket 90 degrees and do the same thing again!
I didn’t put these squares together in any particular fashion. I threw them all into my project bag and grabbed them at random. I figured if I thought about it too hard I’d never decide exactly where each one should go!!
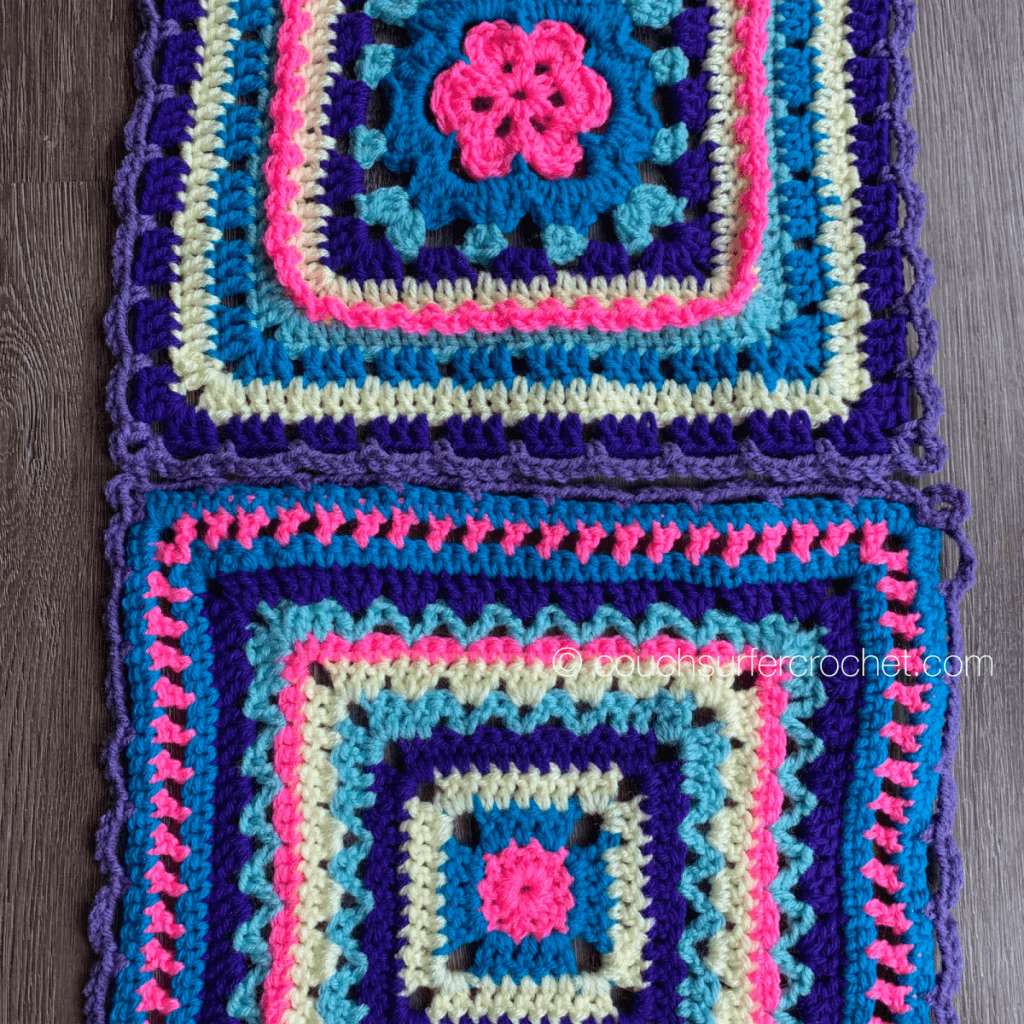
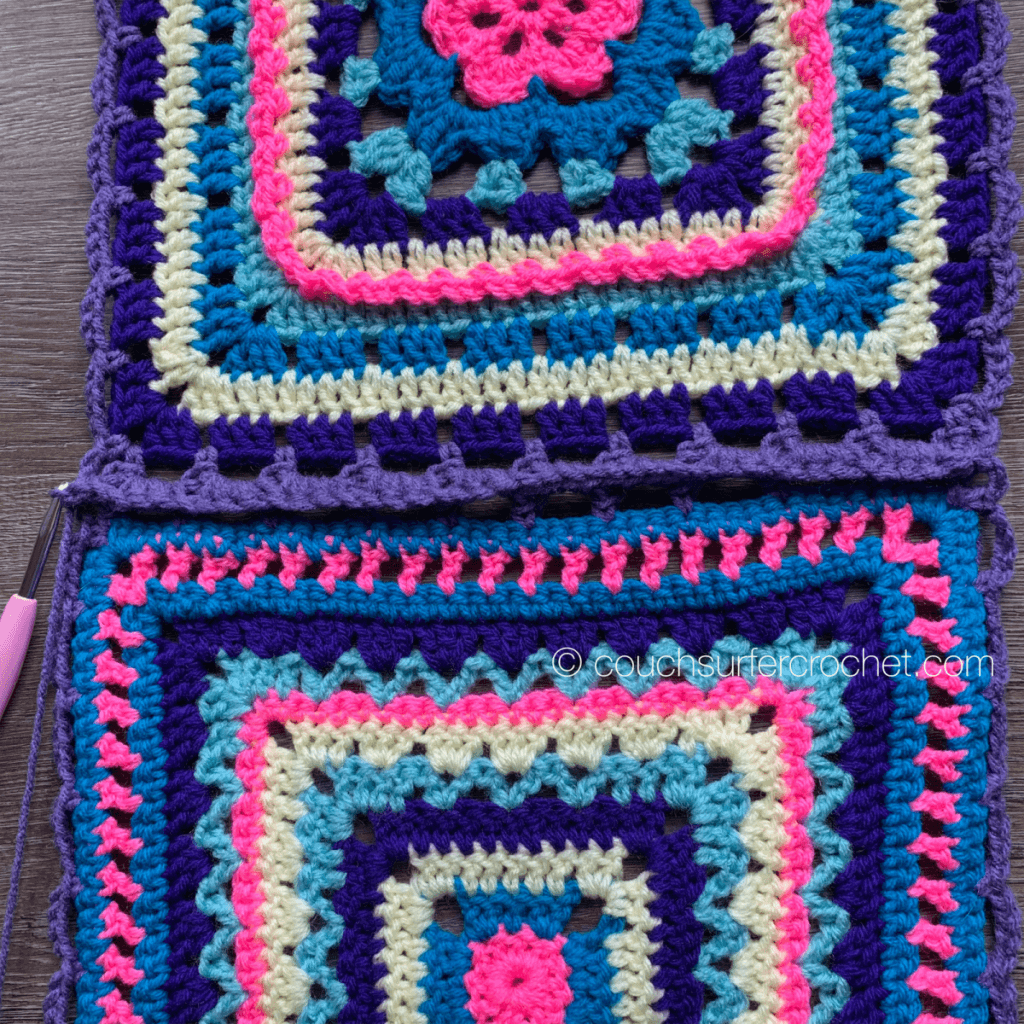
To begin, you will need to place your squares on top of each other with the right side of both facing up.
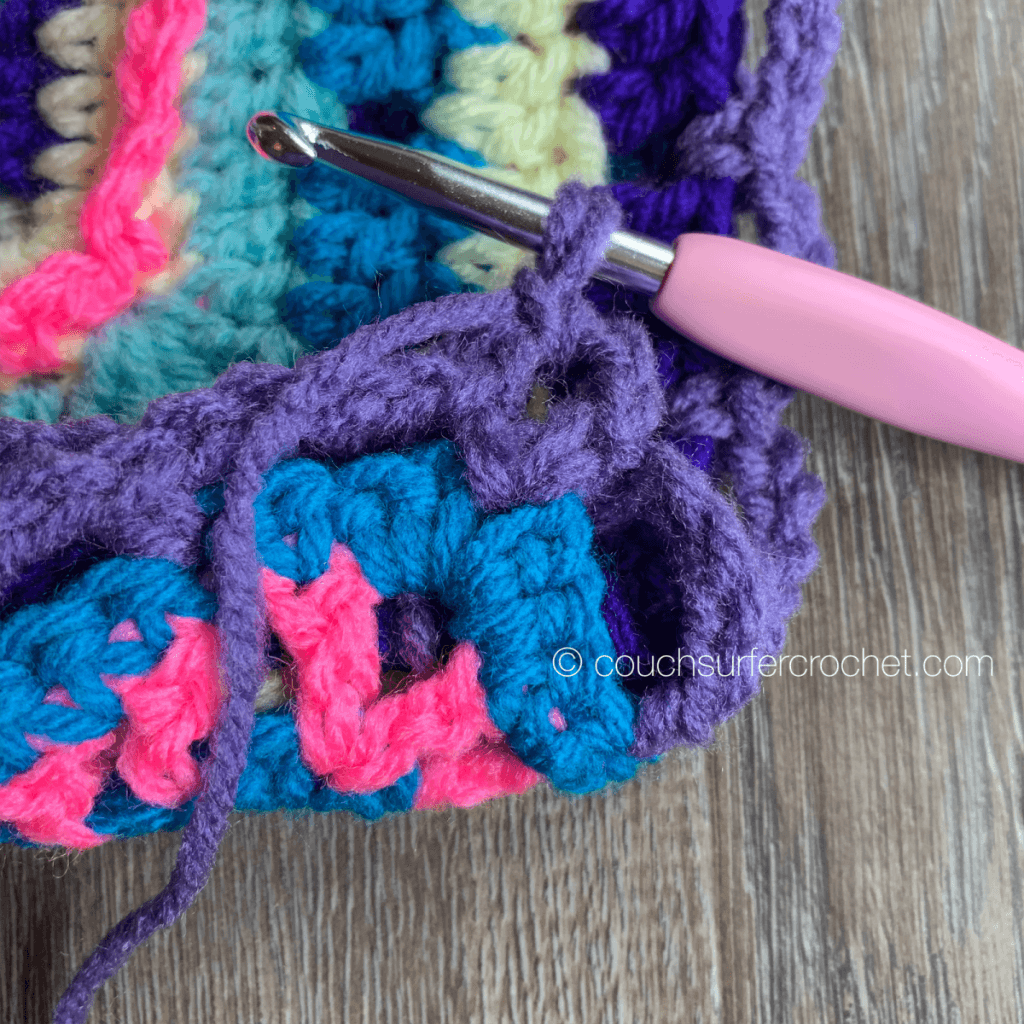
Starting in the far right corner loop, join using same color you used for the edging. You will be working through the loops of BOTH squares for this method to attach them together.
I used Red Heart Yarn in Lavender for my edging. I’m also going to add it into the border to tie it in to the whole piece.
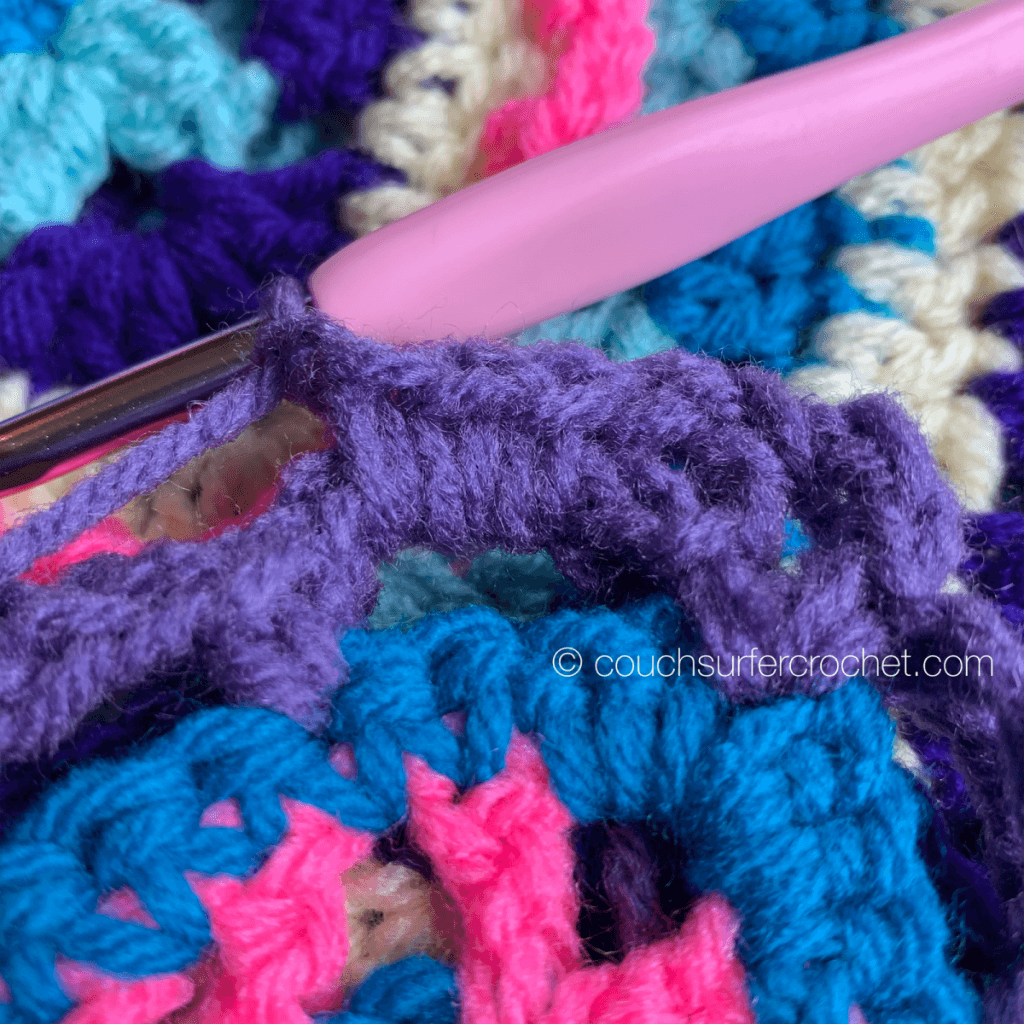
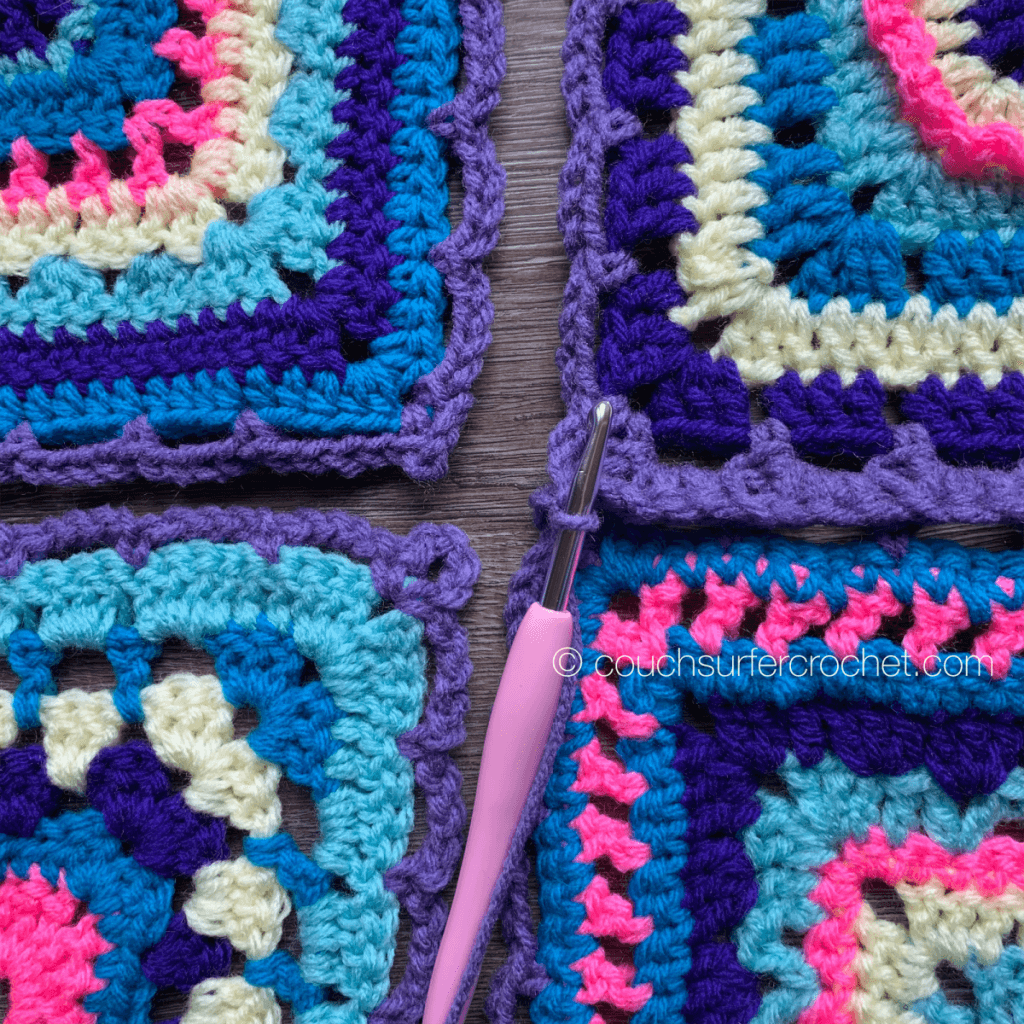
++ sc in first loops, * ch 1, 3sc in next loop, repeat from * to corner, sc, ch 1 ++
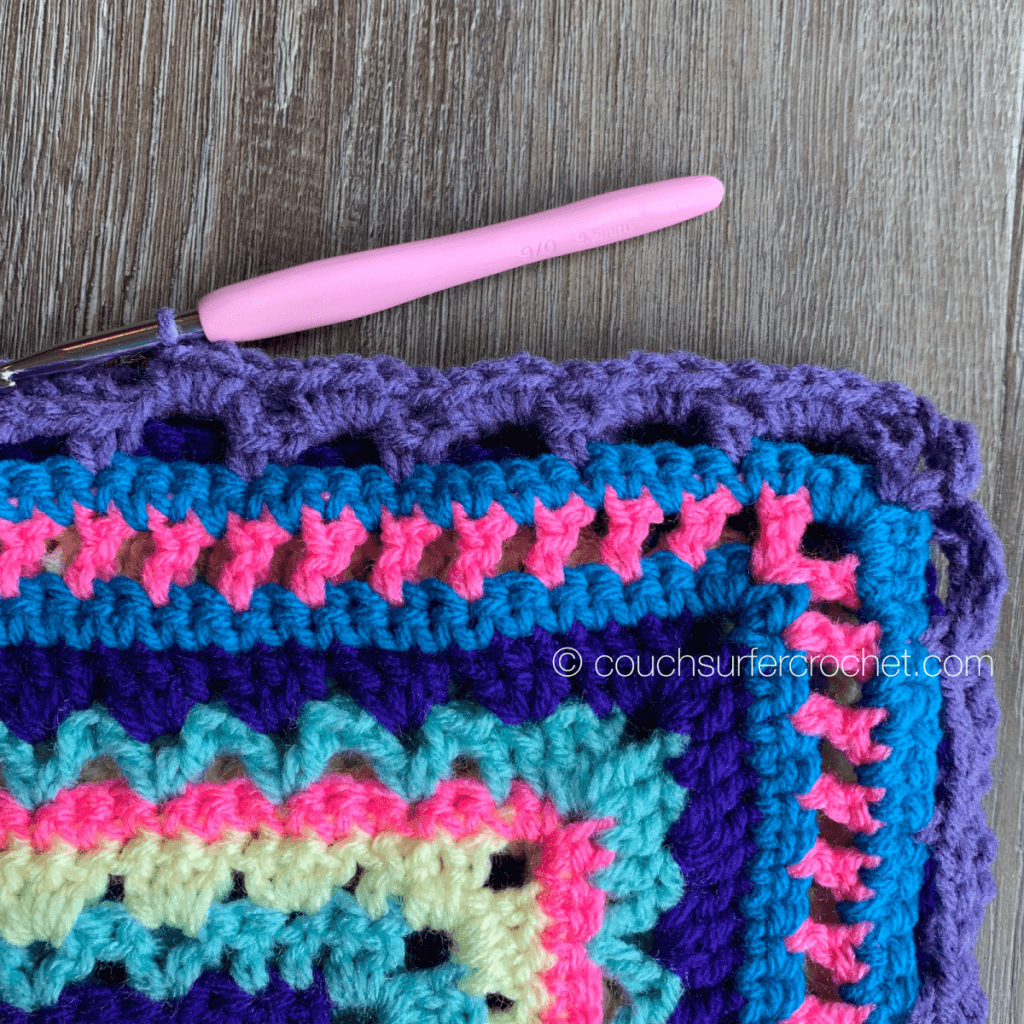
You have now joined your first two blocks together! Do NOT fasten off! Keep adding squares from left to right until you have 5 in a row.
++ sc in first loops, * ch 1, 3sc in next loop, repeat from * to corner, sc, ch 1 ++
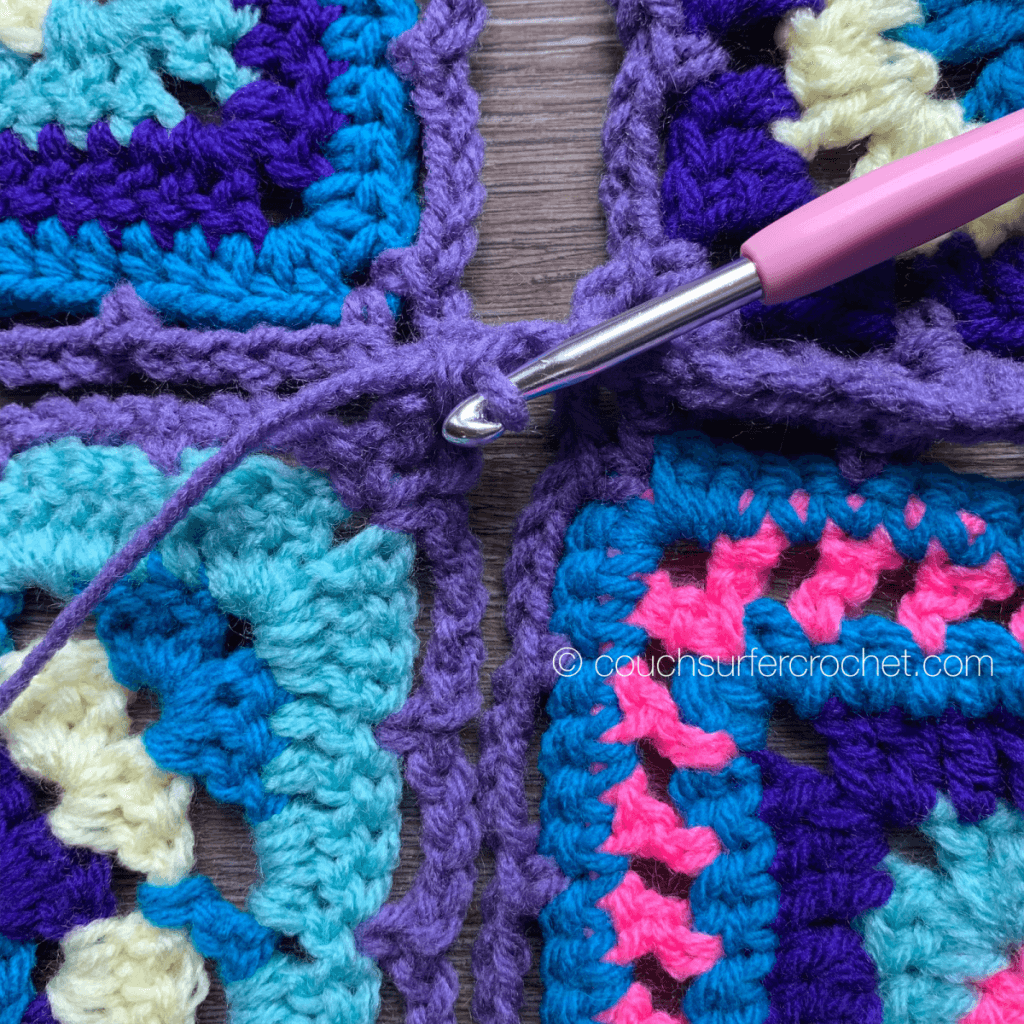

It really is that simple! Remember to join your squares until you have 5 across. Then use the same method to add Rows 3, 4, and 5!
When you have them all joined together it should look something like this:
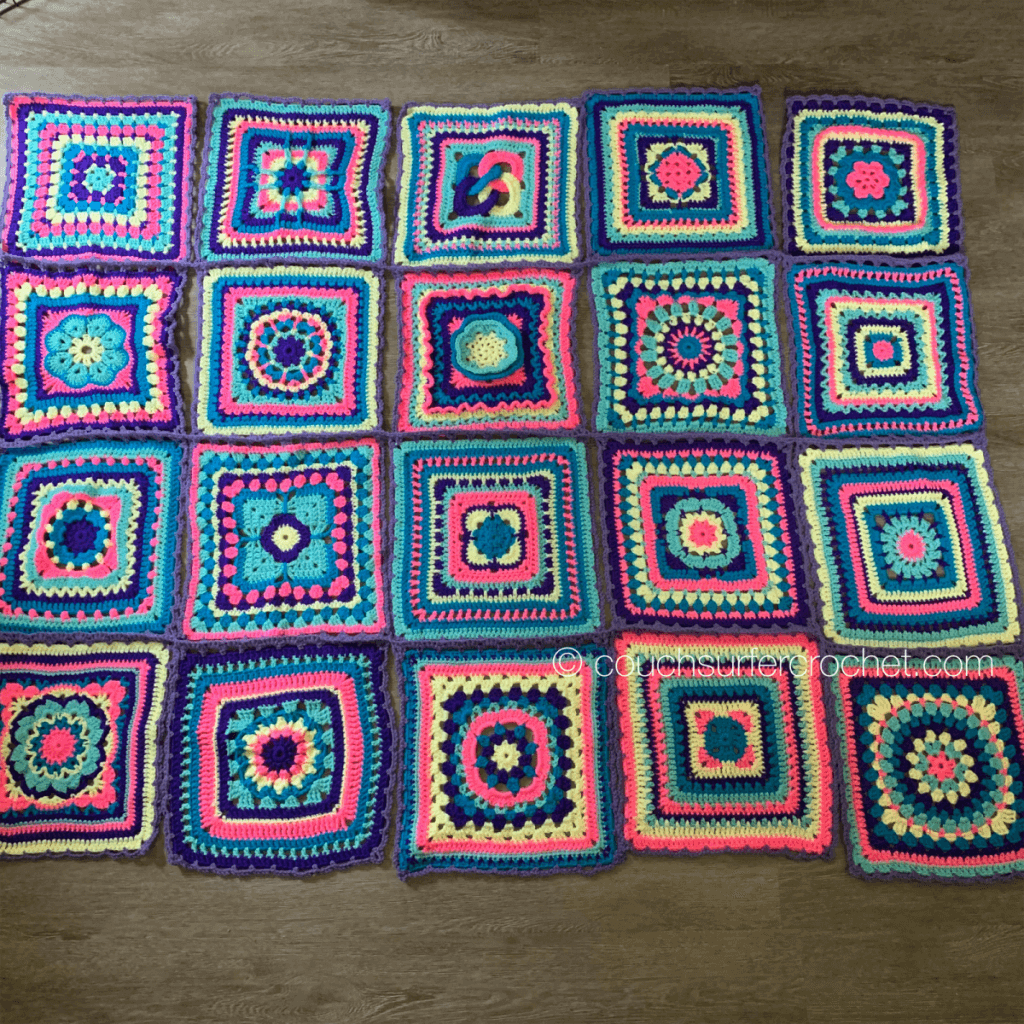
I forgot to take a photo when I had all 5 rows together and I’ve already started on the border. (Whoops!) But you get the idea! It’s a simple and unobtrusive join. It is complementary but doesn’t steal focus from all those gorgeous squares!
Also! Do not fret about all those little loops that are now around the edge of the whole piece. They will become a part of the border, which I will be sharing next week!
Please, please, please feel free to share your work with me! I would love to see your progress and finished pieces. Half the joy of creating is sharing it! You can post your work here in the comments, on my Facebook page, or you can join the Couch Surfer Crocheters FB Group!
If you are on Instagram and want to share there, please tag me @couchsurfercrochet and use the hashtag #blockaweek2019. I’m on Pinterest and Twitter as @couchsurferarts!
Follow my blog with Bloglovin.
Looking for other patterns to try?! Check out my ETSY shop or my Ravelry store! All of the squares I have designed for this project are available to download for free from Ravelry!
Love doing Crochet Alongs? I’ve done quite a few others if you want to check them out!
Mixed Stitch Blanket CAL
Hip to be Square CAL
Changing Chevrons CAL
Stashbuster Granny Square CAL